
Table of Contents
Granting access to your Facebook Page allows other users to manage and interact with your page on your behalf. Follow these steps to add someone as a page role.
Step-by-Step Guide #
Step 1: Log In to Your Facebook Account #
- Open your web browser and go to Facebook.
- Enter your email/phone number and password, then click “Log In.”
Step 2: Navigate to Your Facebook Page #
- Click on the “Pages” option in the left-hand menu.
- Select the page you want to give access to from your list of pages.
Step 3: Access Page Settings #
- Once on your page, click on “Settings” in the left-hand menu at the bottom.
Step 4: Go to Page Roles #
- In the “Settings” menu, select “Page Roles” from the list on the left.
Step 5: Assign a New Page Role #
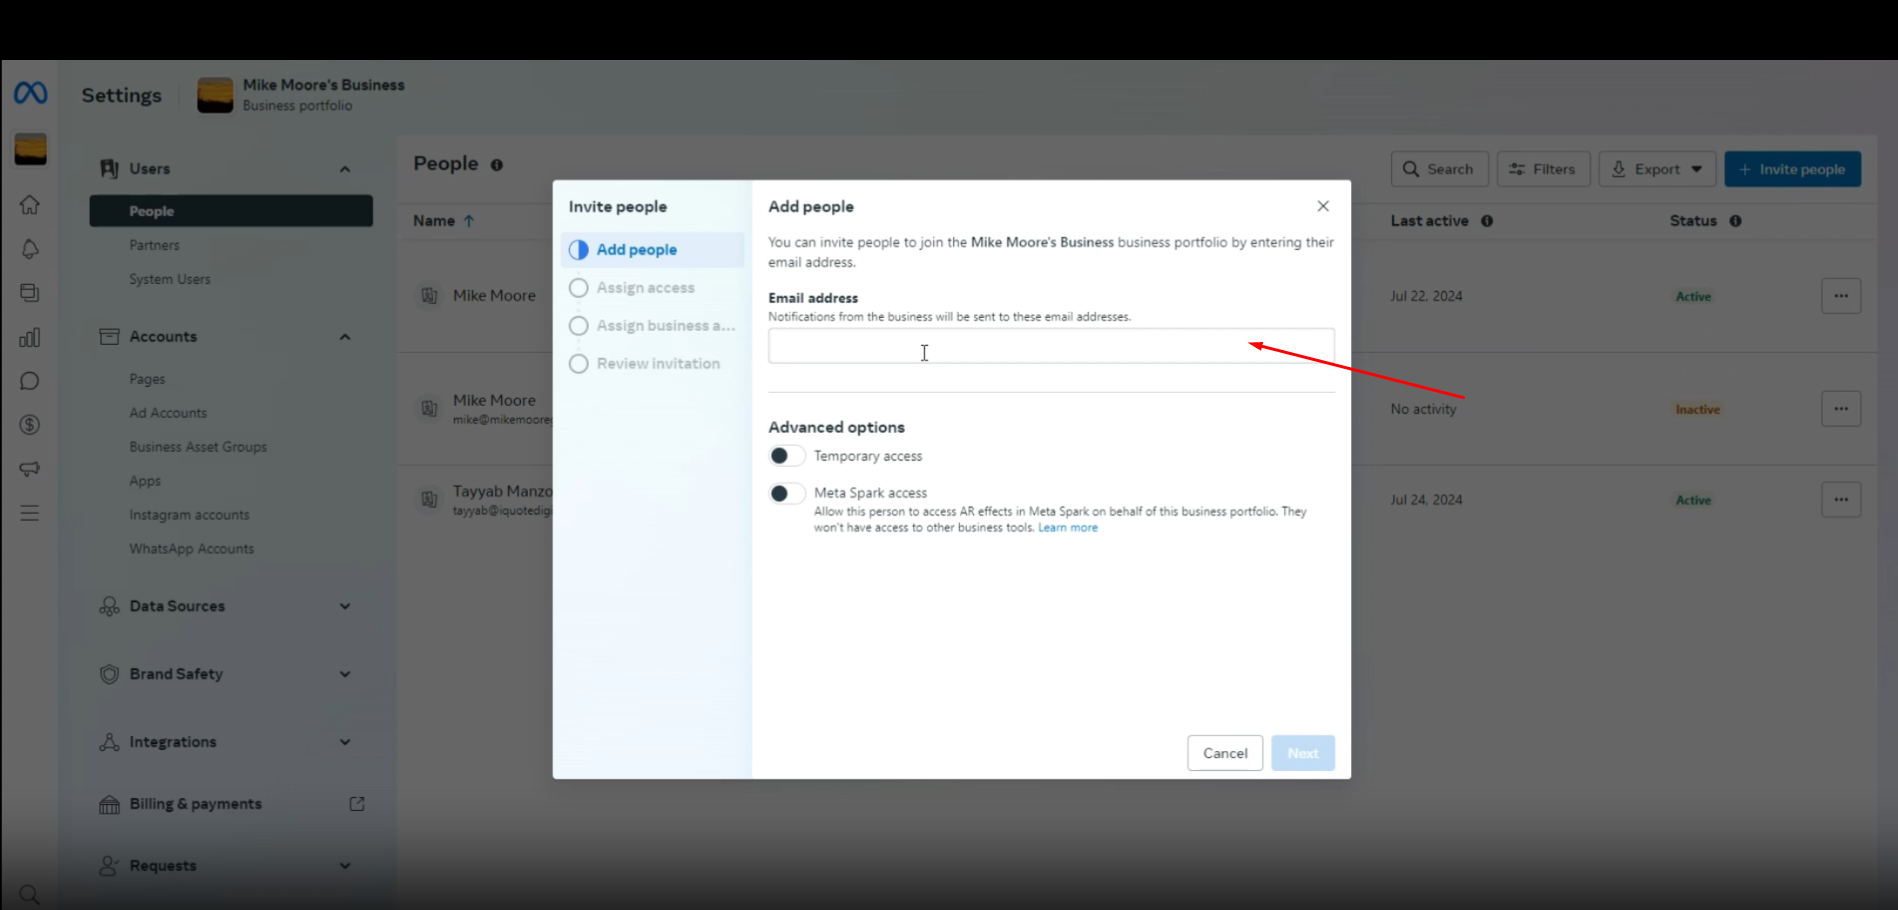
- In the “Assign a New Page Role” section, type the name or email address of the person you want to add.
- Select the role you want to assign them from the dropdown menu. The available roles include:
- Admin: Complete and total access to everything.
- Editor: Can edit the Page, send messages, and post as the Page, among other activities.
- Moderator: Can respond to and delete comments on the Page, send messages as the Page, see which admin created a post or comment, among other activities.
- Advertiser: Can see which admin created a post or comment, create ads, and view insights.
- Analyst: Can see which admin created a post or comment and view insights.
- Jobs Manager: Can post job openings and manage applications.
Step 6: Confirm the Assignment #
- Click the “Add” button.
- You may be prompted to enter your Facebook password to confirm the changes.
Step 7: Notification to the Added Person #
- The person you added will receive a notification and may need to accept the invitation to start managing the page.
By following these steps, you can successfully grant access to your Facebook Page


