
Table of Contents
1. Log in to the Agent Portal #
- Open the following URL in your browser:
https://account.affordablecare.ai/ - Log in using your Agent Portal credentials.
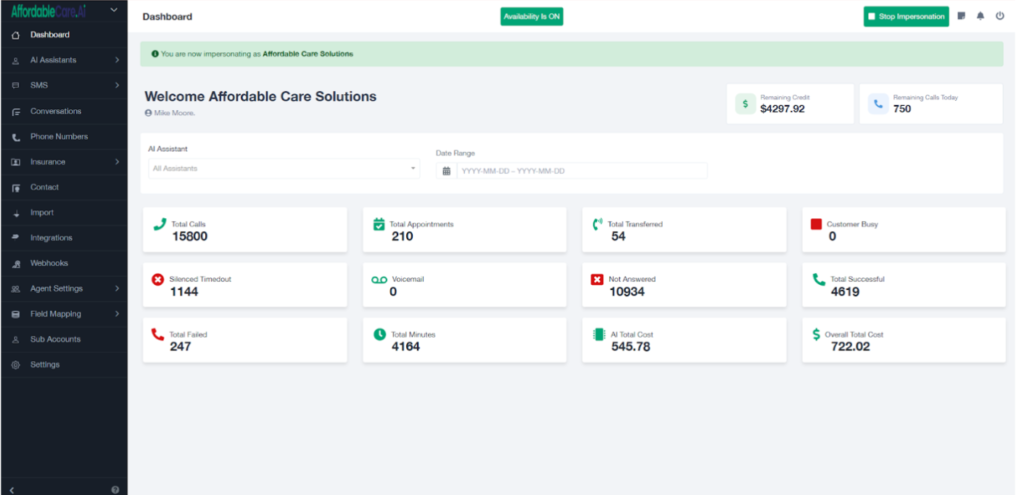
- After successful login, you will be redirected to the Agent Portal Dashboard.
2. Creating an SMS Campaign #
- From the dashboard, click on the SMS tab.
- Under the SMS section, click on Campaigns.
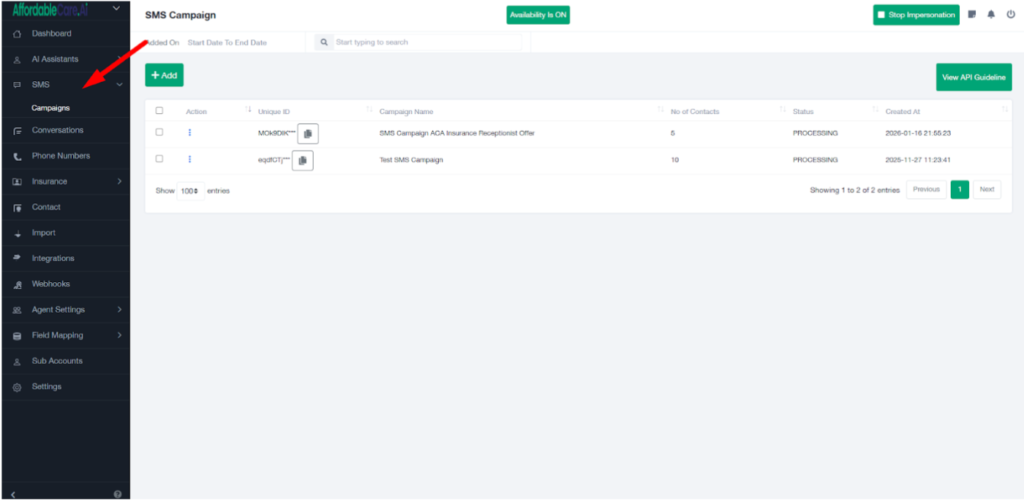
- Click the Add button to create a new campaign.
- Enter the Campaign Name.
- Click Save
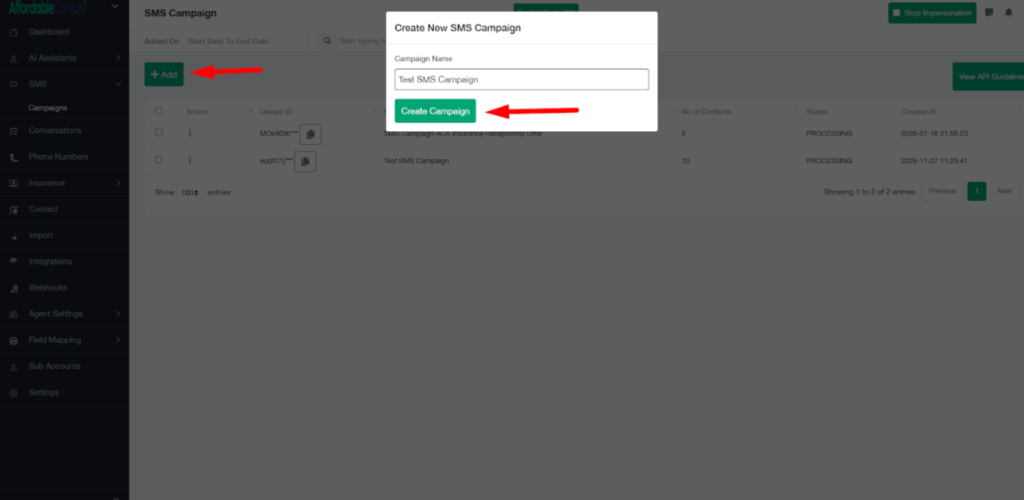
Once saved, the campaign dashboard will open with multiple tabs.
3. Campaign Dashboard Overview #
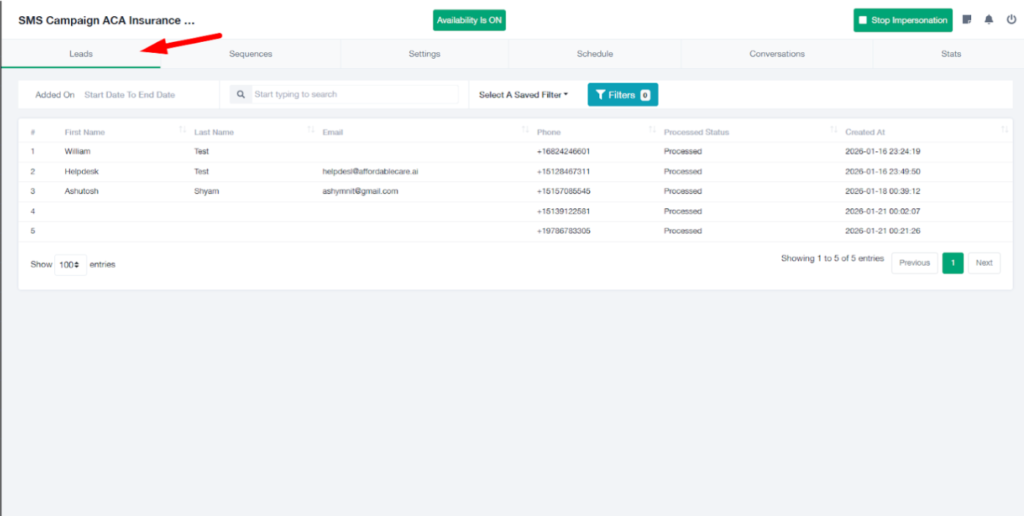
A. Leads Tab #
- This is the first tab.
- It displays all contacts/leads enrolled in this SMS campaign.
- Any lead added to the campaign will automatically appear here.
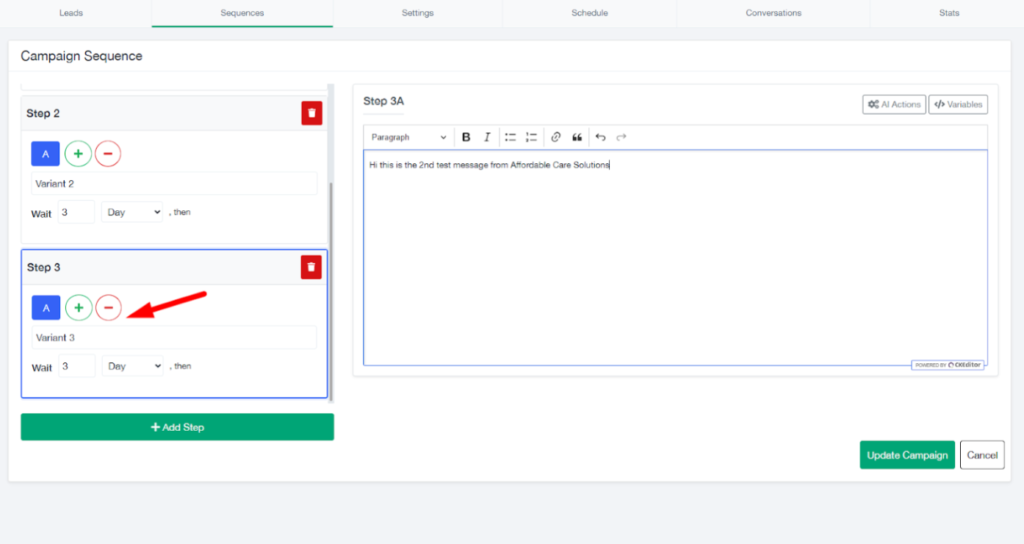
B. Sequence Tab (SMS Automation Setup) #
This is where you configure the SMS sequence.
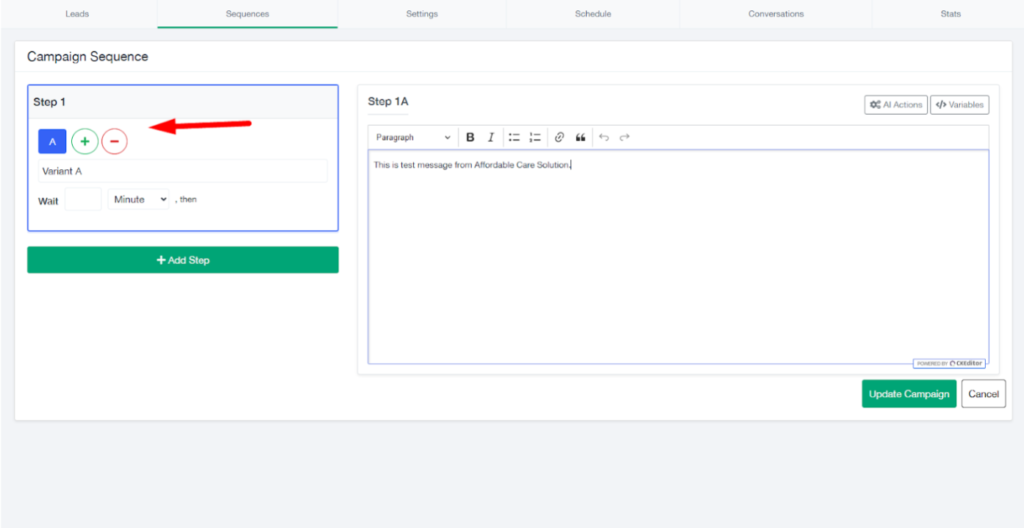
Step 1 – First SMS #
- Add an SMS message that you want to send to your leads.
- You can create multiple variations of the same SMS.
- Example: You can create up to 10 different SMS variations.
- These messages are randomly distributed among leads.
Each lead receives only one SMS from the available variations.
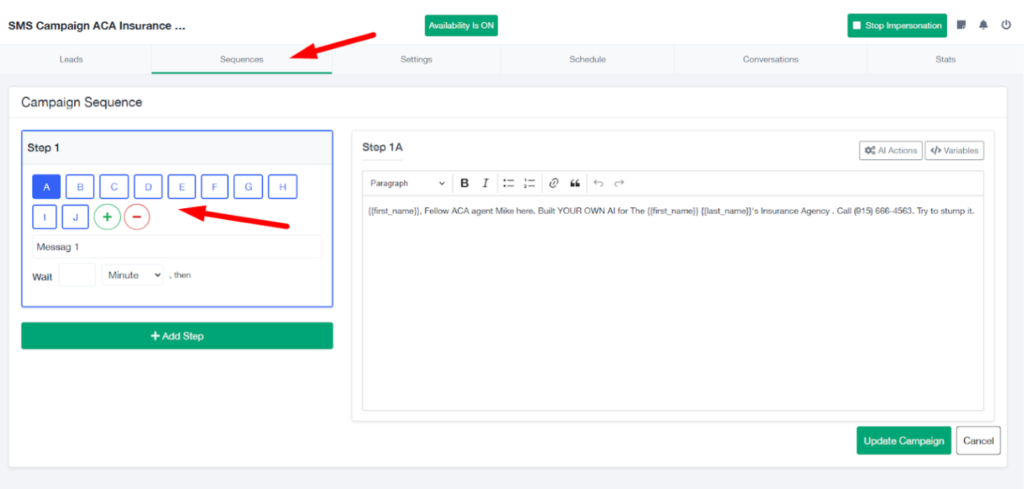
- If you add only one SMS, then all leads will receive the same message.
Step 2 – Follow-Up SMS #
Add a Wait time (for example, 2 days).
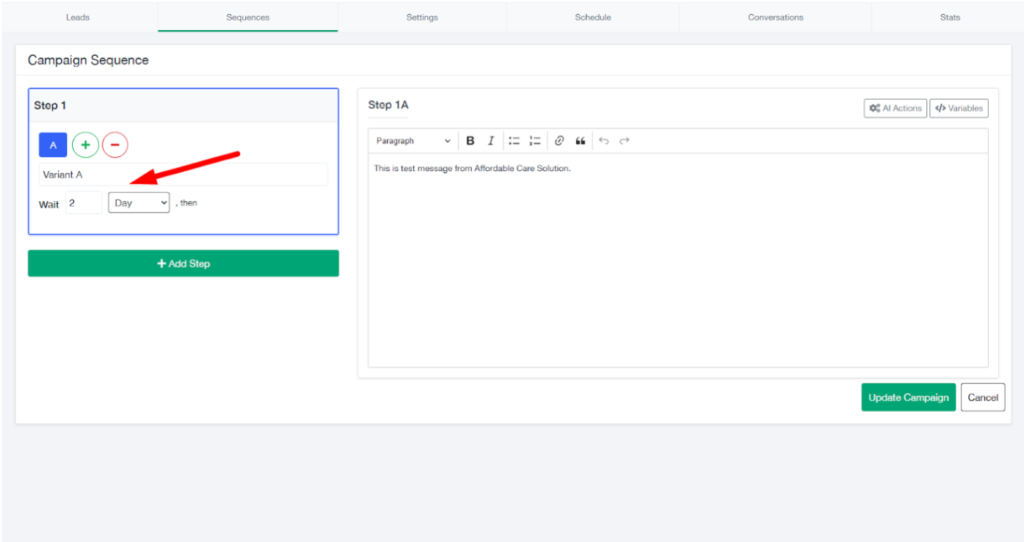
- After the wait time, configure the second SMS.
- You can again choose:
- A single SMS, or
- Multiple SMS variations.
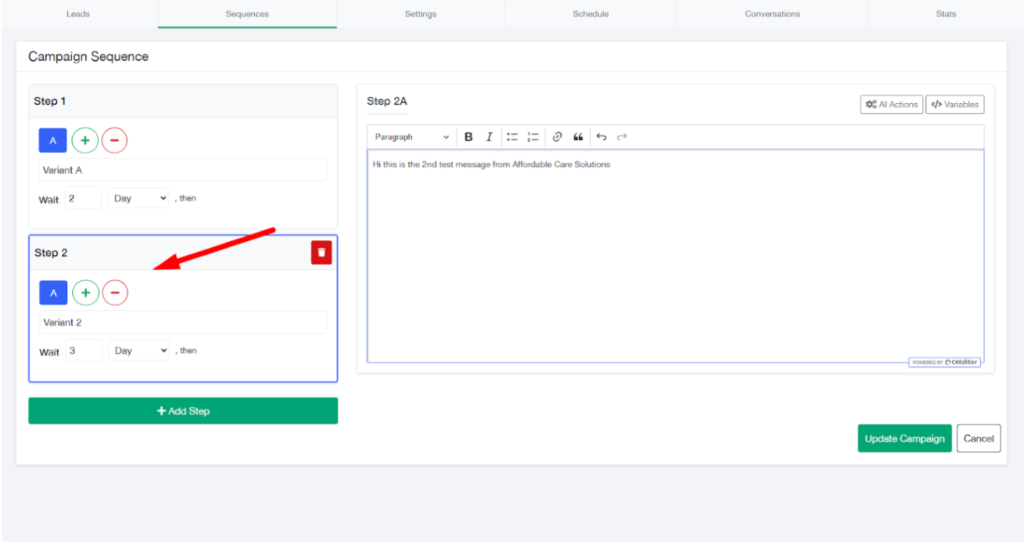
Step 3 – Beyond #
- You can continue adding more steps.
- Each step can have its own wait time and SMS variations.
- The number of steps and timing is completely flexible.
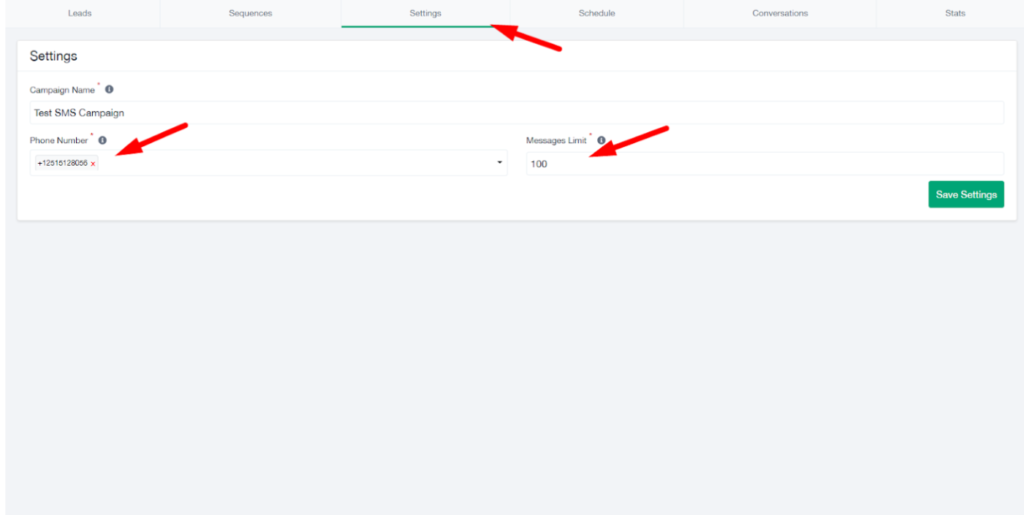
C. Settings Tab #
- Select the phone numbers to be used for this campaign.
- Set message limits, such as:
- How many SMS messages can be sent from one number.
This helps control sending volume and compliance.
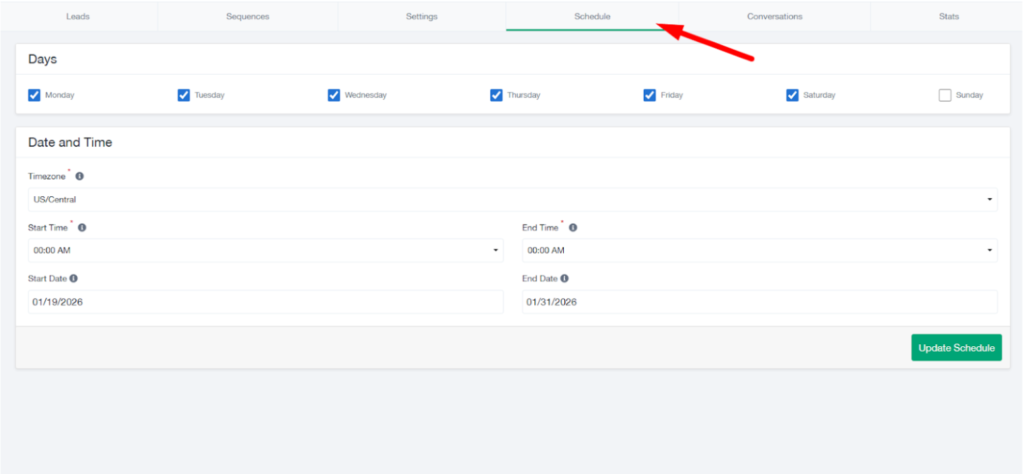
D. Schedule Tab #
- Define when the campaign is allowed to send messages:
- Days of the week
- Time zone
- Start time and end time
- Start date and end date
- Messages will only be sent within the scheduled time window.
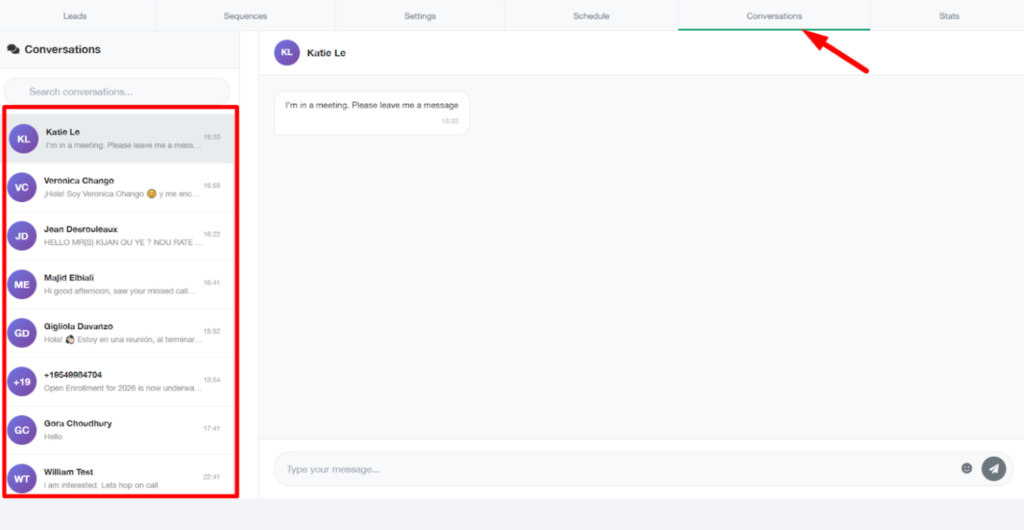
E. Conversations Tab #
- All SMS conversations with leads appear here.
- You can view replies and ongoing message threads for this campaign.
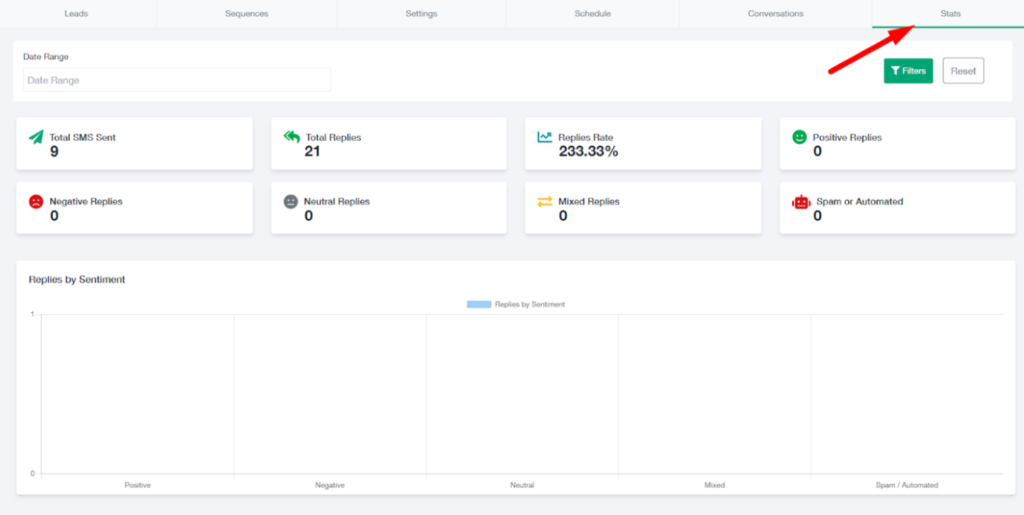
F. Stats Tab #
- Displays complete campaign analytics, including:
- Total SMS sent
- Total replies received
- Reply rate
- Positive replies
- Negative replies
- Neutral replies
- This helps measure campaign performance and engagement.
4. Enrolling Leads into an SMS Campaign #
There are two ways to enroll leads into a campaign.
Method 1: Manual Enrollment from Agent Portal #
- Go to the Contacts tab in the Agent Portal.

- Select the contacts you want to enroll.
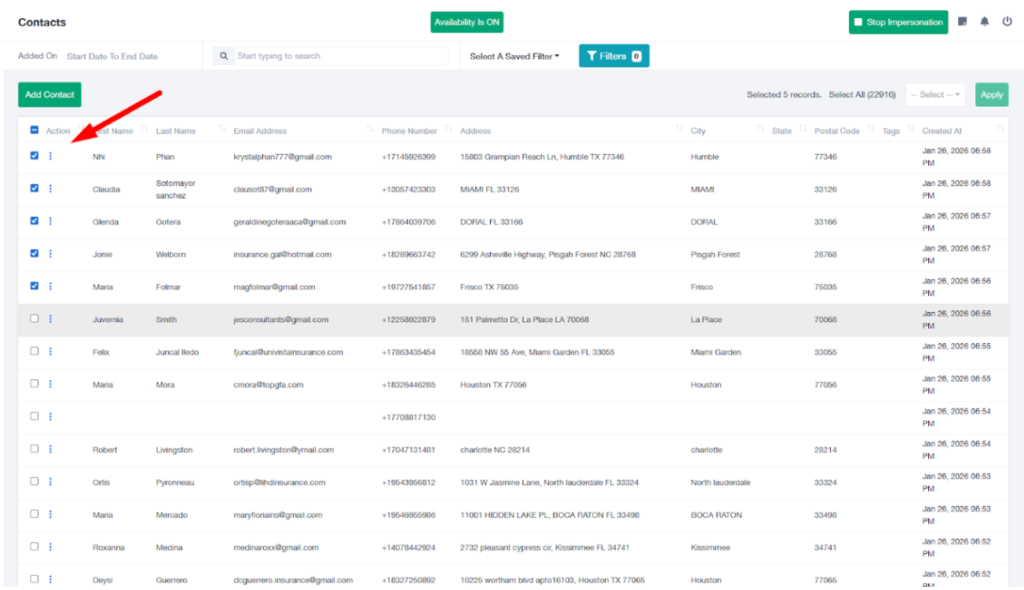
- Click Select from the right corner.
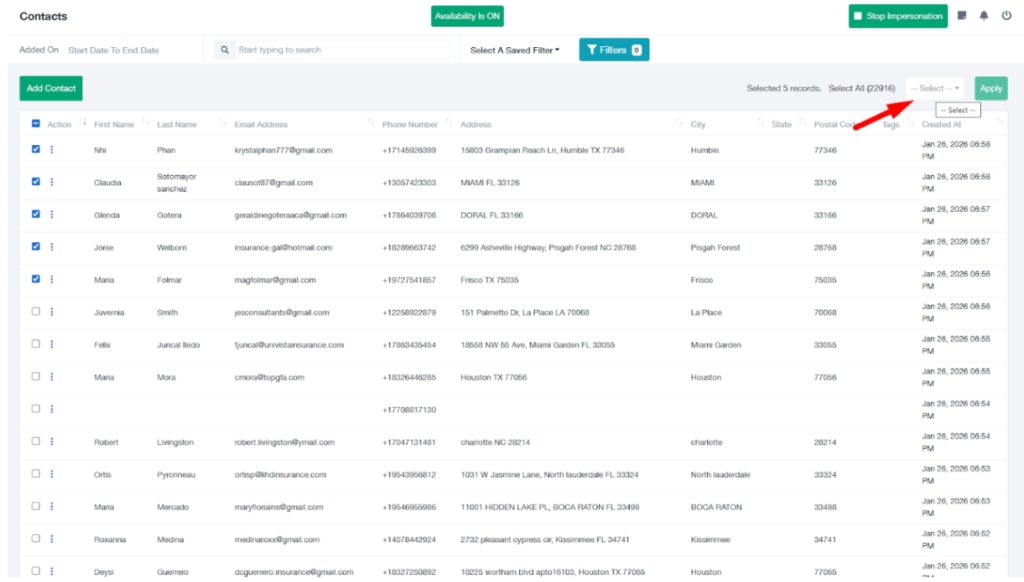
- Choose Add to SMS Campaign.
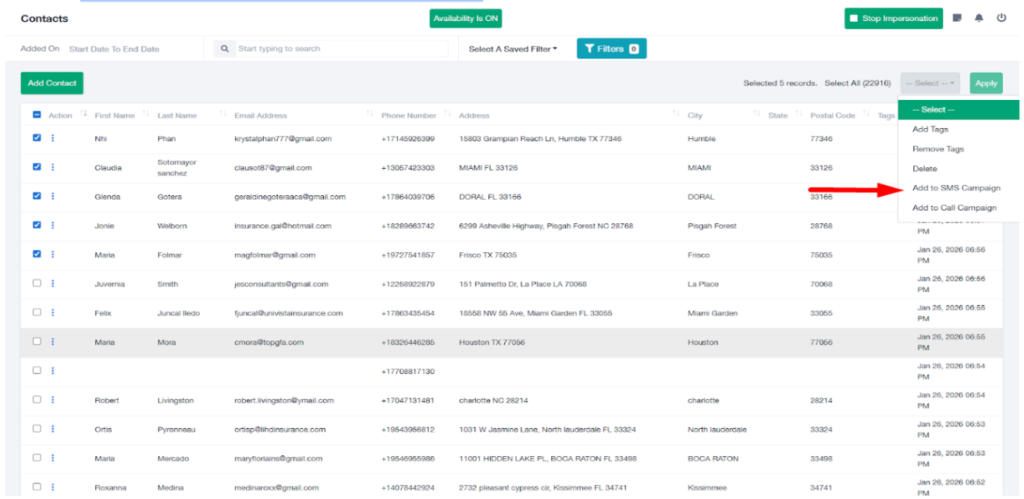
- Click Apply.
- A popup will appear.
- Select the SMS Campaign you want to enroll these contacts into.
- Confirm the action.
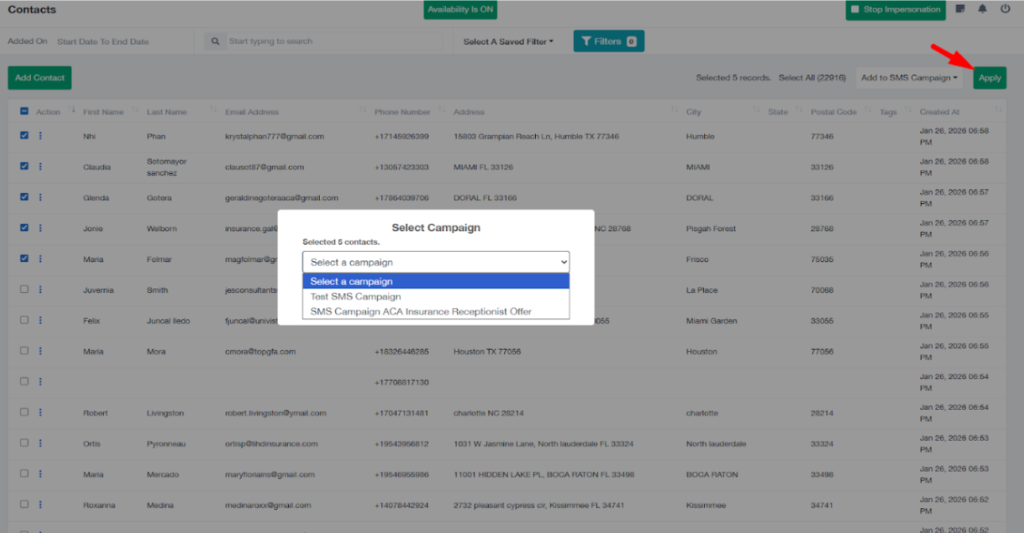
The selected contacts will now be enrolled in the campaign.
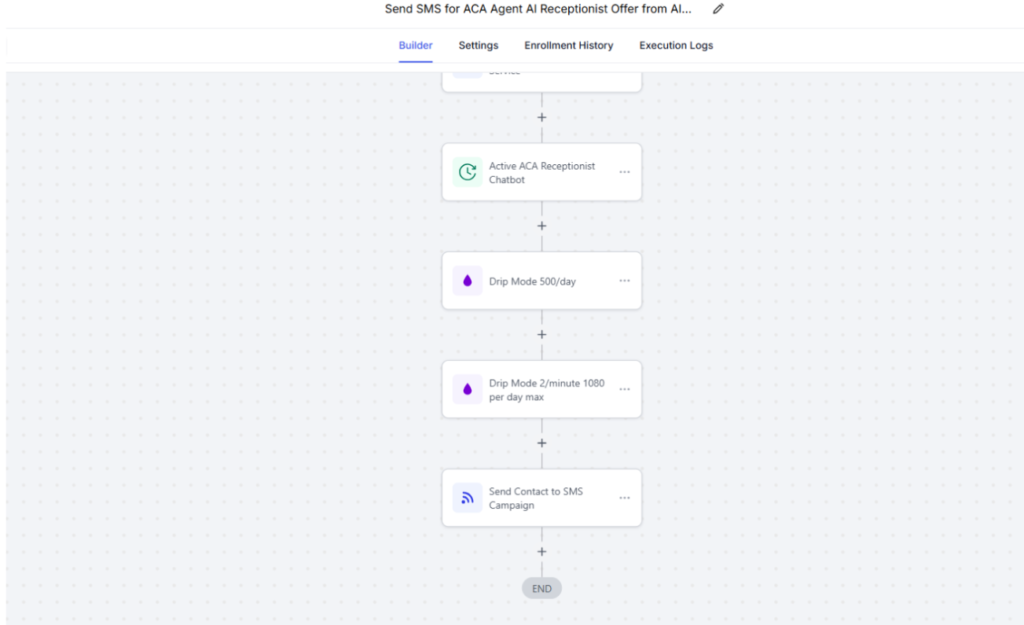
Method 2: Automatic Enrollment via GoHighLevel (GHL) #
This method is used when you want to enroll leads automatically from your connected GoHighLevel account.
A. Create Workflow in GoHighLevel #
- Open your GoHighLevel account.
- Go to Automations.
- Click Create Workflow.
- Choose a trigger based on your requirement (or manual enrollment if preferred).
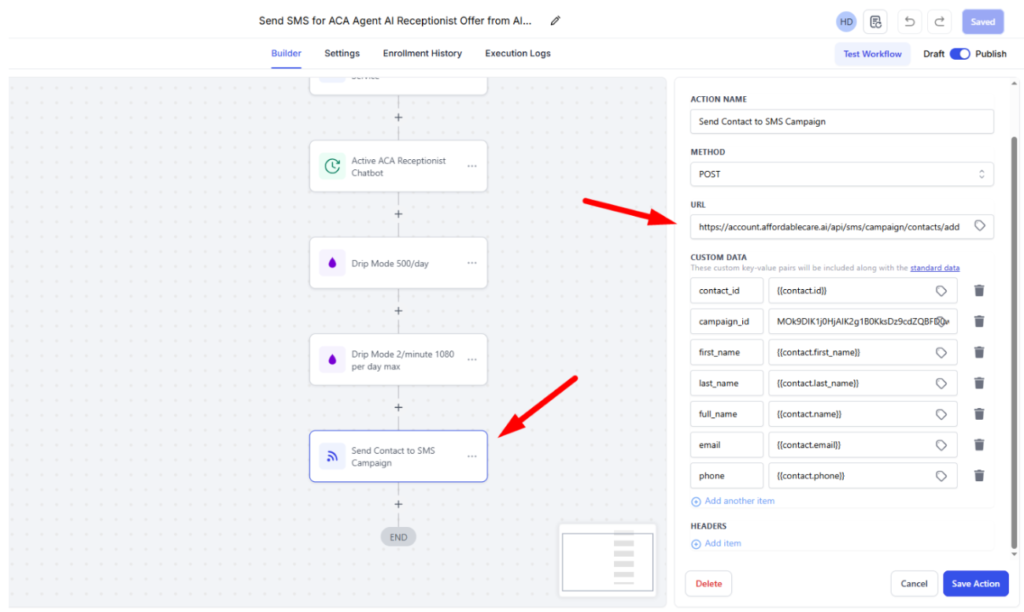
B. Add Custom Webhook Action #
- Inside the workflow, add an action: Custom Webhook.
- Enter the API endpoint provided in the Agent Portal.
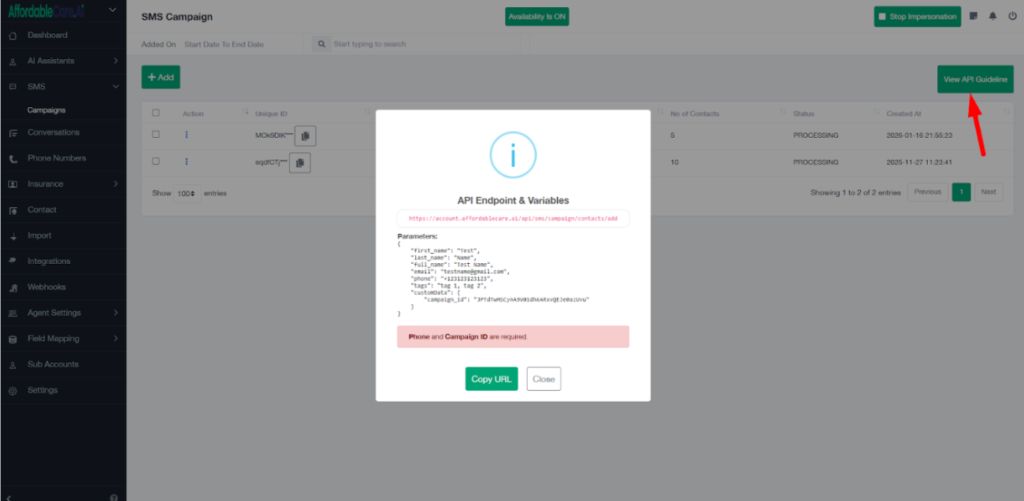
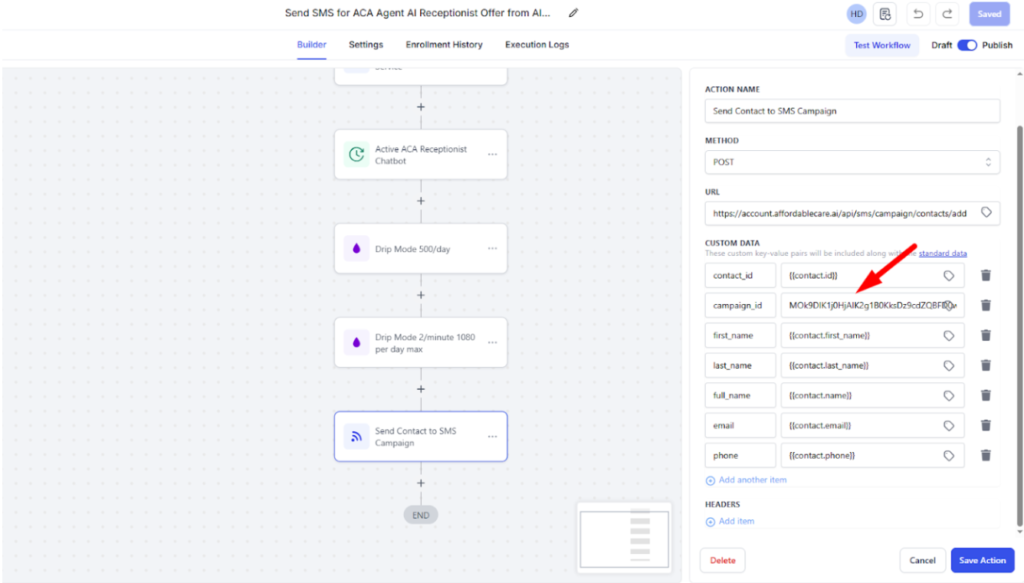
C. Set Webhook Variables #
Configure the following variables in the webhook payload:
- First Name
- Last Name
- Phone Number
- Campaign ID
D. Get Campaign ID #
- Go back to the Agent Portal.
- Open the SMS Campaign.
- Copy the Unique Campaign ID.
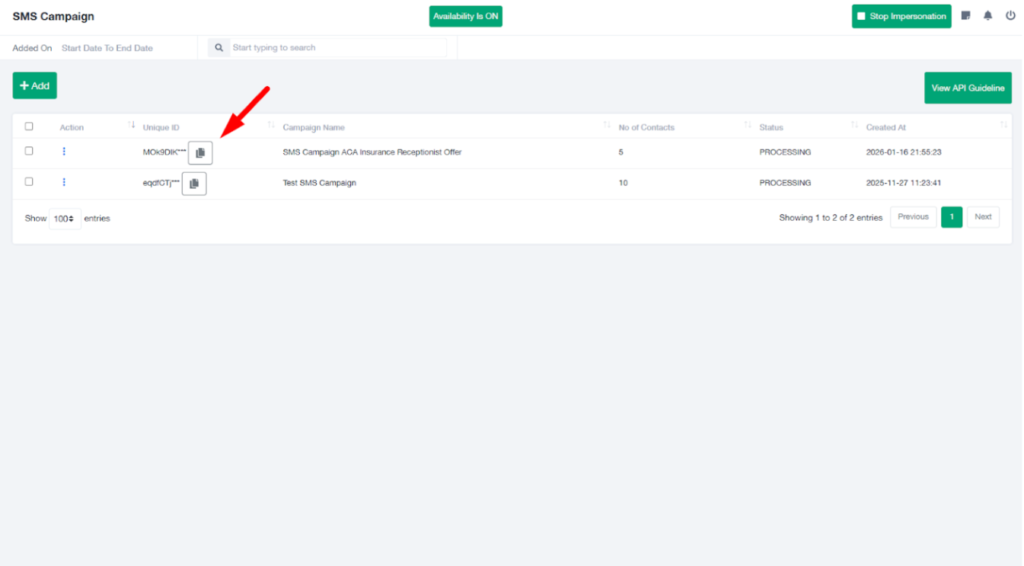
- Paste this Campaign ID into the webhook configuration.
E. Save and Extend Automation #
- Save the workflow.
- You may also add additional actions such as:
- Apply tags
- Update custom fields
- Send internal notifications
- You can decide:
- Whether leads are added automatically via triggers, or
- Manually pushed into the workflow.
Once the workflow runs, leads from GoHighLevel will be automatically enrolled into the selected SMS campaign.


