
Table of Contents
ACF Flow helps agents streamline eligibility surveys, generate unique links, customise branding, and sync data with CRMs like GoHighLevel or via webhooks. Here’s a complete step-by-step guide based on the demo walkthrough.
Step 1: Add Your Agents #
- Add agent details: Name, Email, Phone, NPN (required).
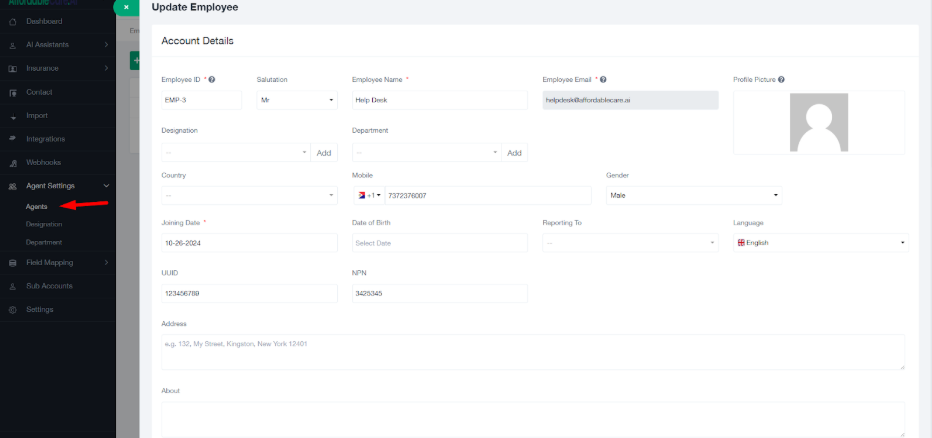
- After saving, you can view the agent’s survey link.

Step 2: Get the Agent’s Unique Survey Link #
- Each agent gets their own eligibility survey URL.
- The survey can be embedded via iframe anywhere.
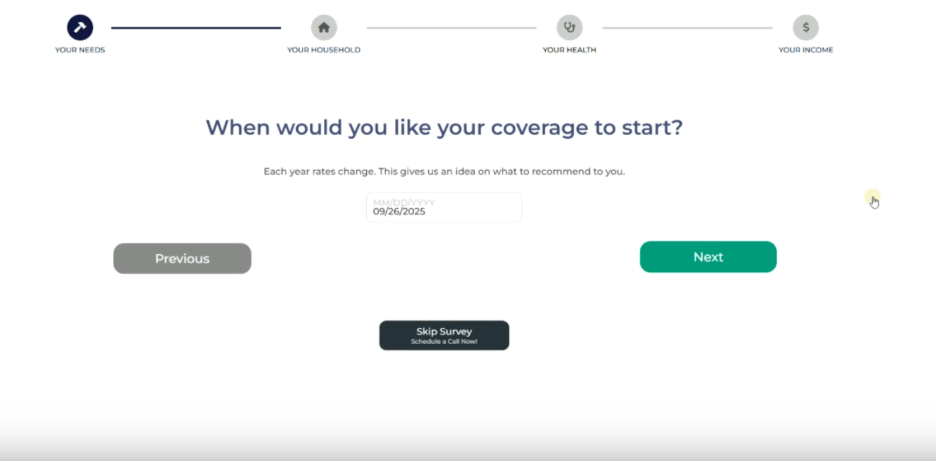
Step 3: Submit the Survey #
- Open the agent’s unique eligibility survey link.
- Fill out the required fields and complete the form.
- Submit the survey to capture the data into the system.
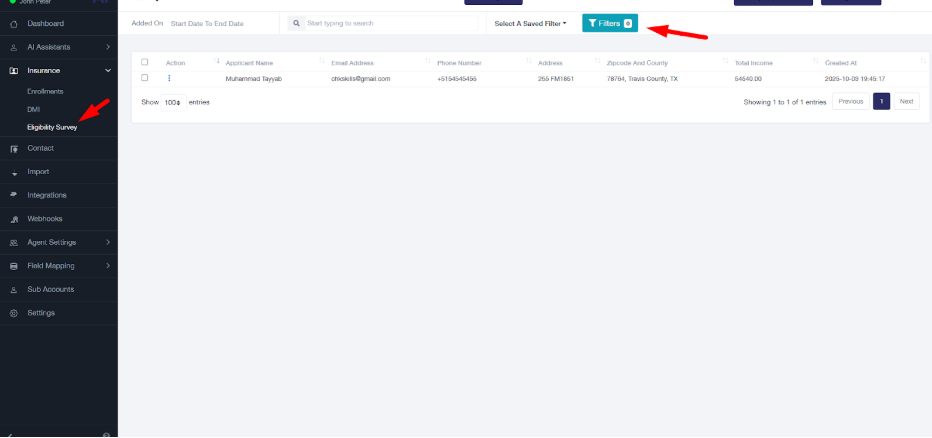
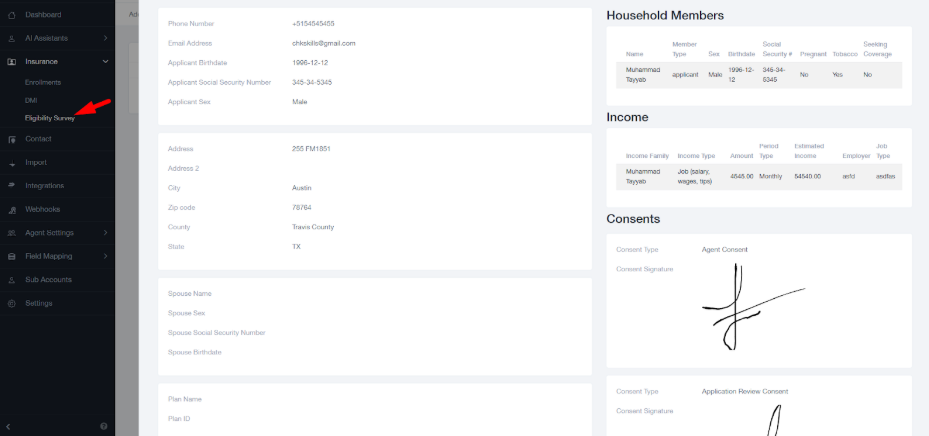
Step 4: View Submitted Eligibility Surveys #
- As submissions come in, view them in your dashboard.
- Apply filters by agent, date, or plan preference.
Step 5: Explore Plans & Plan Details #
- Review available plan options (e.g., Silver and others).
- Open detailed view to compare plans.
- Select the desired plan during the review process.
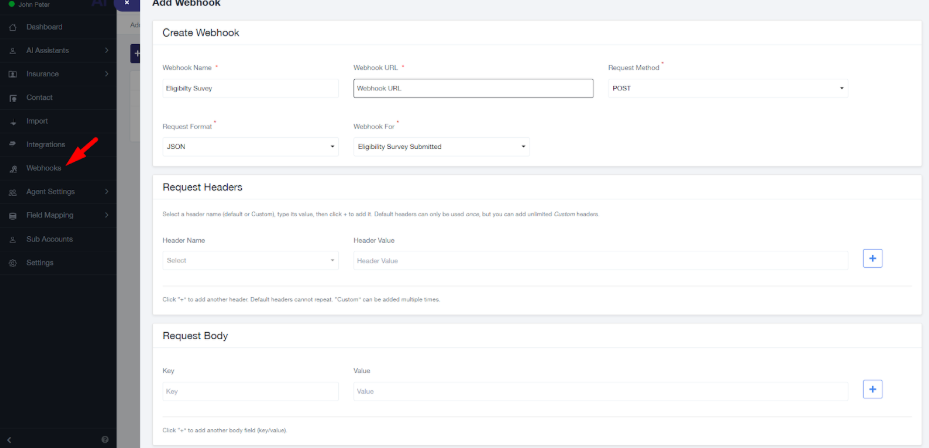
Step 6: CRM Webhook (Send Data Anywhere) #
- Go to Webhook settings.
- Choose what to send (Eligibility Survey, Agent Consent, Application Consent).
- Select request type (JSON).
- Paste your webhook URL (Zapier, CRM, etc.).
- Follow same step to save Agent Consent and Application Consent Webhooks
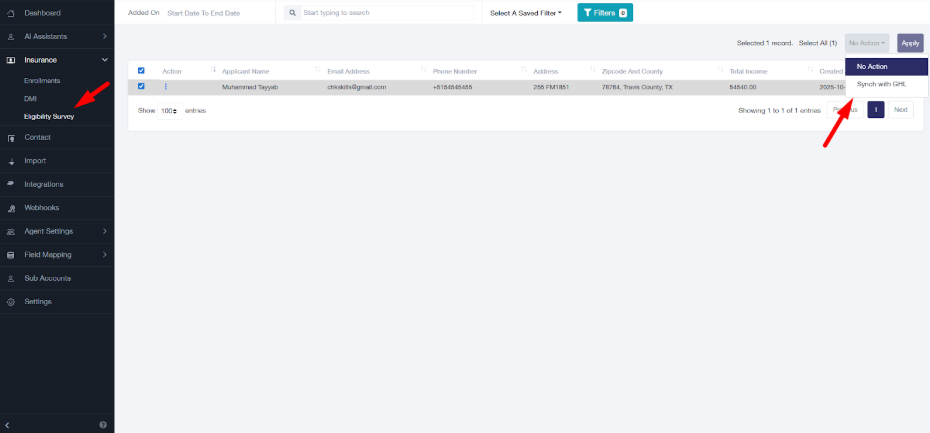
Step 7: Sync to GoHighLevel (GHL) #
- In Eligibility Surveys, apply filters.
- Select All → Sync with GHL.
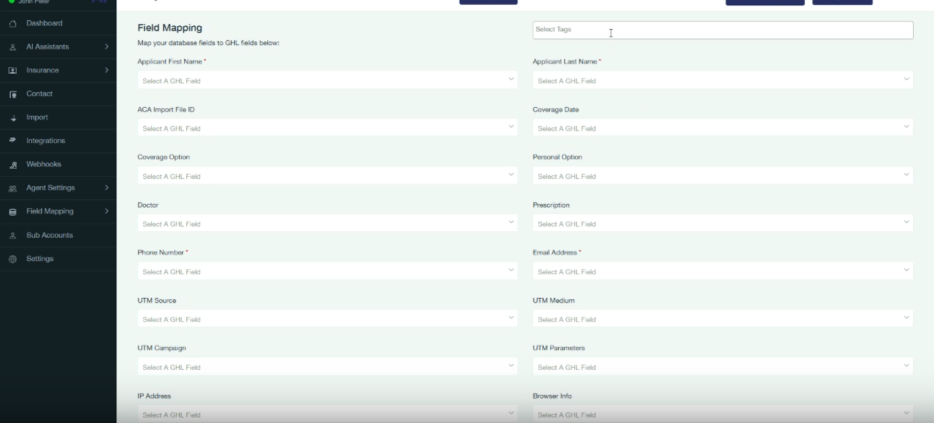
- Complete field mapping, add tags, then sync.
Step 8: Add More Agents Anytime #
- Add as many agents as needed.
- Each one gets their own survey link.


