
Table of Contents
In this article, you’ll learn how to add ACA Flow to your website or funnel. This includes adding tracking code, customizing with CSS, embedding the flow using an iframe, viewing submissions, and sending data to your CRM.
Step 1: Add Tracking Code in the Header #
- Go to your website or funnel settings.
- Find the Header Section.
- Paste the tracking code here.
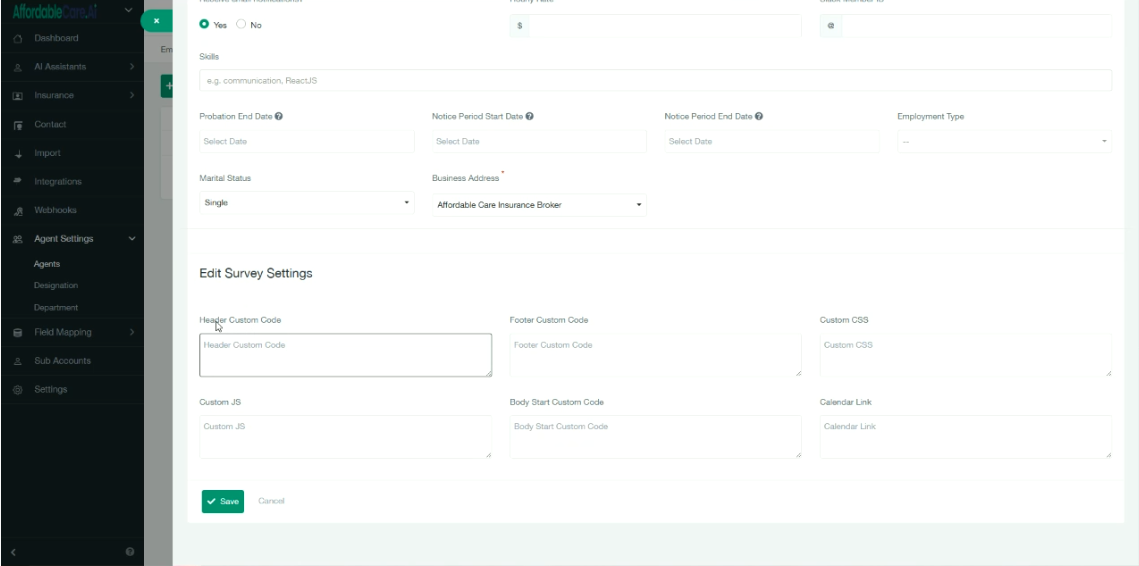
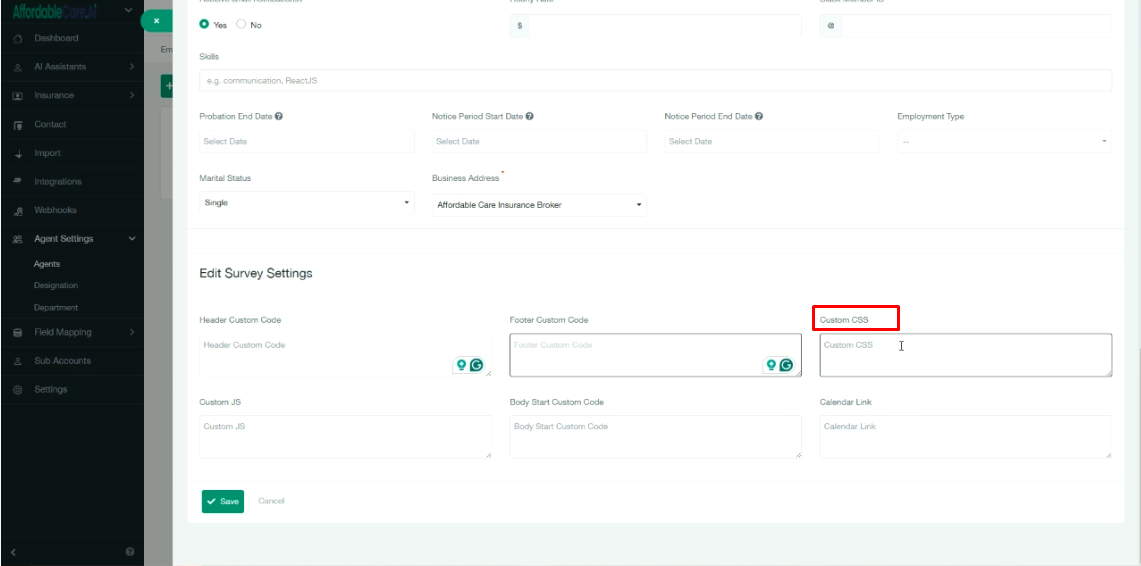
Step 2: Customise with CSS #
- To style the flow (e.g., change colors or design), you can add custom CSS code.
- Paste your CSS into the customization field.
Step 3: Copy the Flow URL #
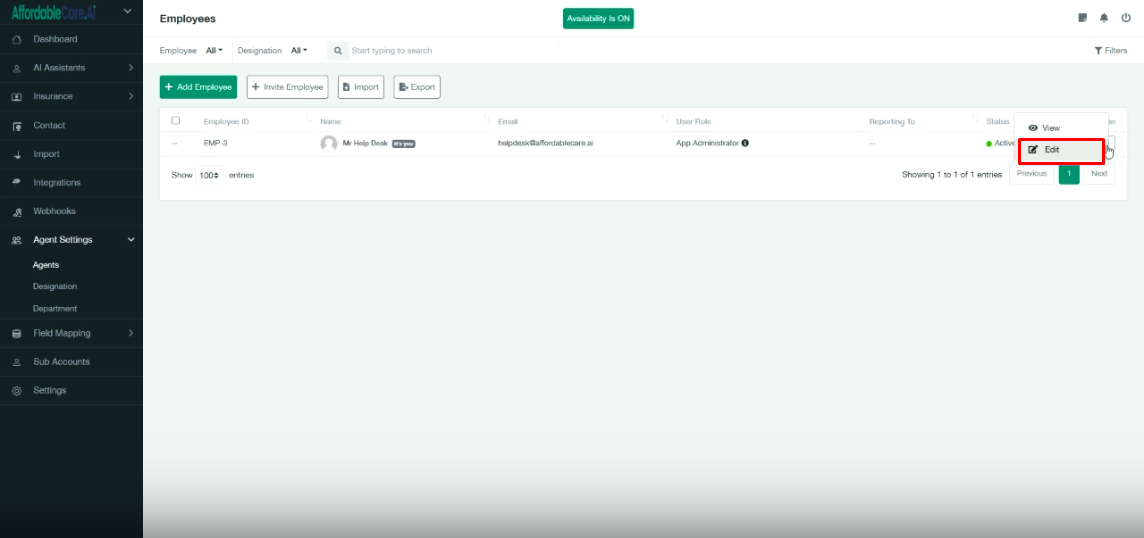
After setup, click on Edit.
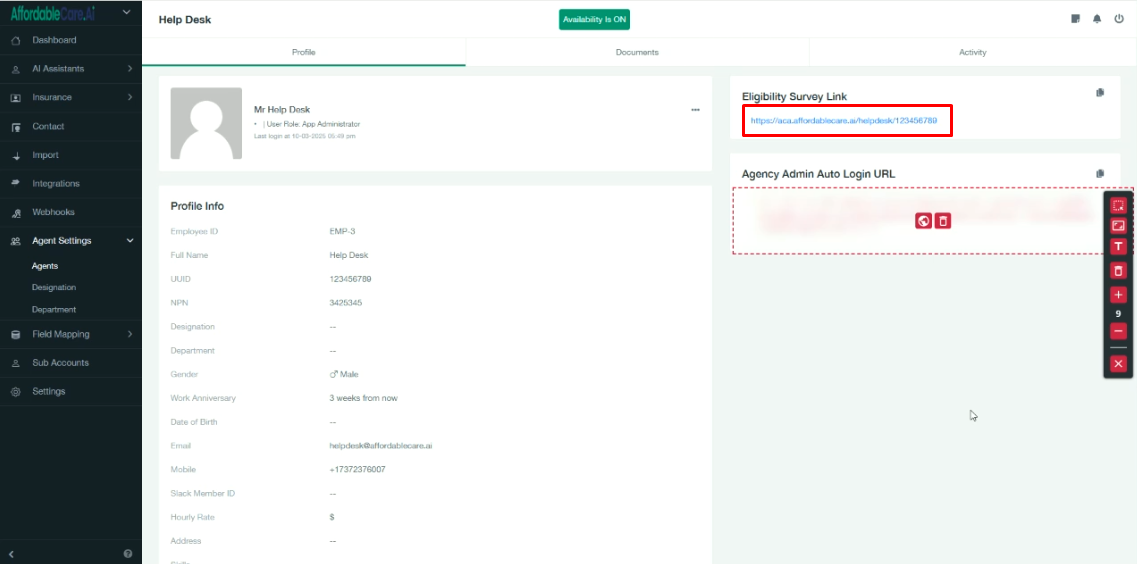
A new screen will appear where you can copy the flow URL.
Step 4: Embed Flow with iFrame #
- Open the webpage where you want to display the flow.
- Add the following iframe code with your copied URL:
<iframe style=”width: 100x; height: 1000px; border: none;” src-“https://aca.affordablecare.ai/mikemoore/396007483”></iframe>
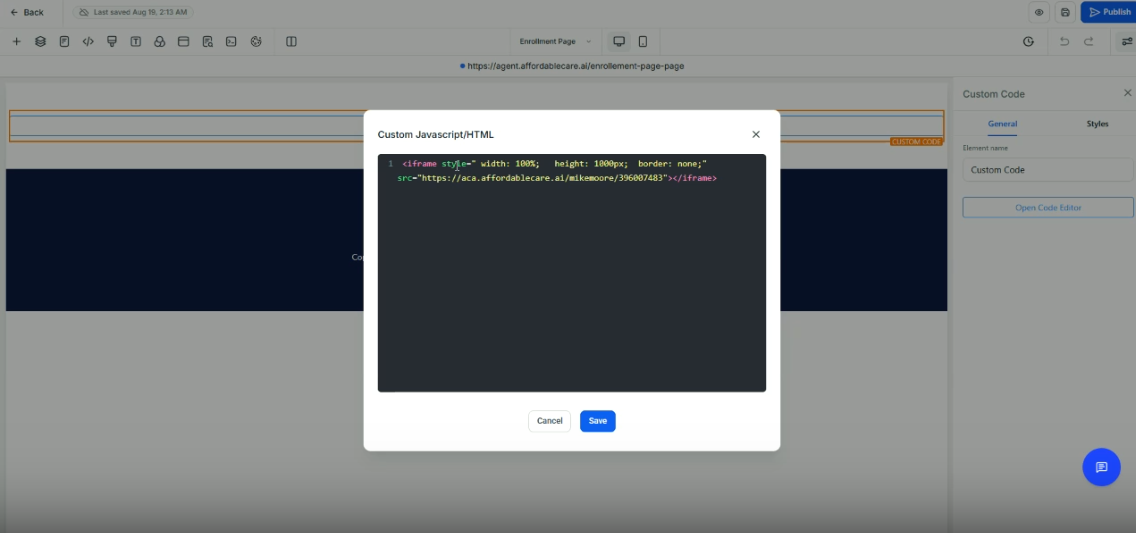
- Save and publish your page.
- The ACA FLOW survey will now be live on your site.
Step 5: Check Form Submissions #
- Submissions will appear in the Eligibility Server Tab.
- If the same user submits multiple times using the same email and phone number:
1: ACA FLOW creates one contact record.
2: Inside that contact, you can see all their entries.
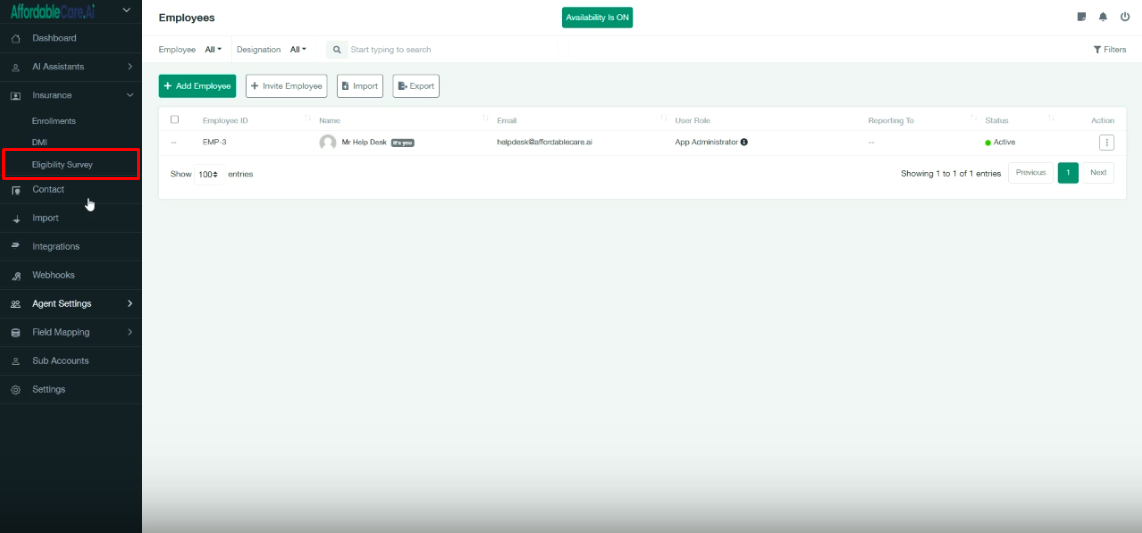
In the Eligibility Server Tab, however, each submission appears as a separate entry.
Step 6: Send Data to a CRM #
- You can forward submission data to your CRM by adding a webhook.
- Supported options include:
1: Zapier Webhook
2: Other CRM webhook endpoints - Add the webhook URL where you want to receive the data.


